Princess Serenity Sailor Moon Doll Cake
Yasmin from
Geek Grubs sent us these amazing DIY instructions to make your Sailor Moon Cake! Sailor Moon Crystal is currently in it's second season and there has been a lot of scenes with Princess Serenity. It inspired her to create this Princess Serenity Doll Cake...
For the base, you can use your favorite cake mix and frosting. To create the dome shape, I used�
Wilton's Doll Cake Pan. To make a taller cake, use 2 boxes of cake mix or add a�9-inch round�layer at the bottom. I only used 1 cake mix for now because this was just an experiment. While your cake is baking, let's start creating the doll portion.�
For the doll, I used a Rapunzel doll from the Disney store and just painted her eyes to look more anime-ish. I also styled her hair to look like Usagi-chan's. I took out the legs and saran-wrapped the bottom torso.
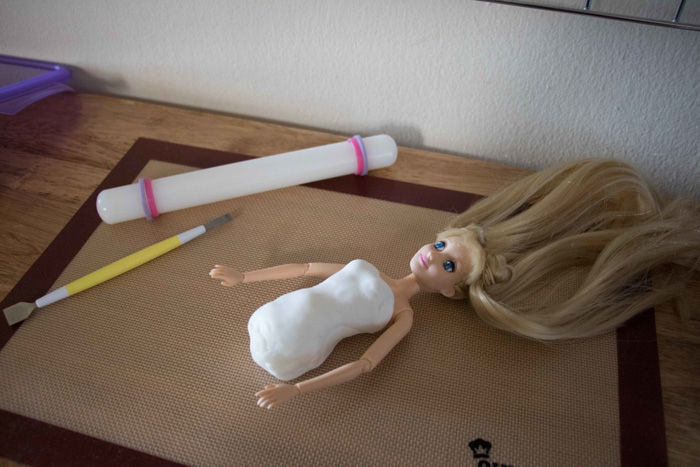
Roll out a small portion of your favorite white fondant and cover her upper body and torso area.

Add some details like the yellow lace part of her dress and sleeve caps.
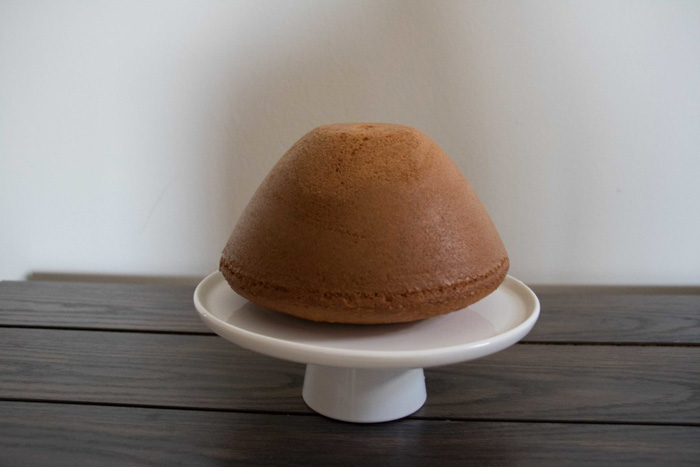
This is how your cake will�look like coming out of the pan.�I recommend making the base flat.
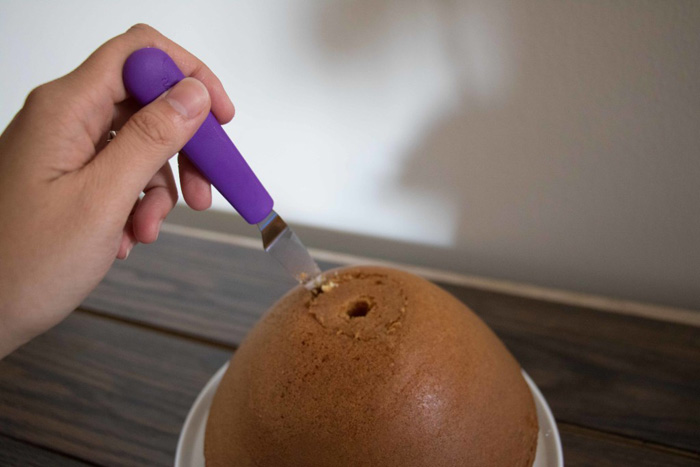
Cut out a small portion of the top so that we can put the doll in the cake.
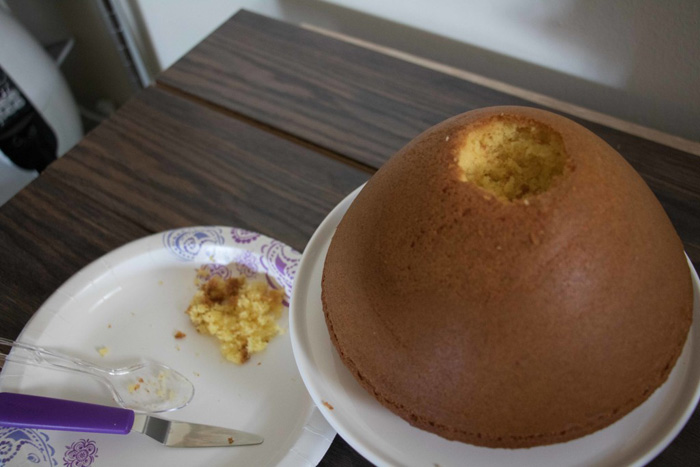
Make sure that the hole is not too deep or wide.
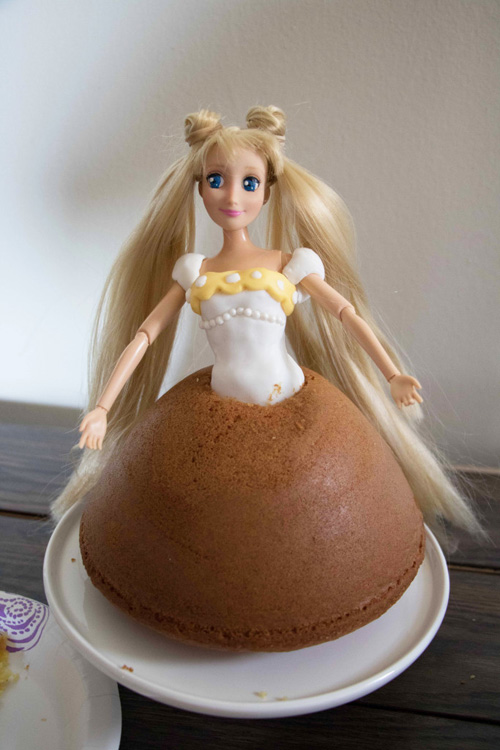
Place the doll on the cake and secure with icing.
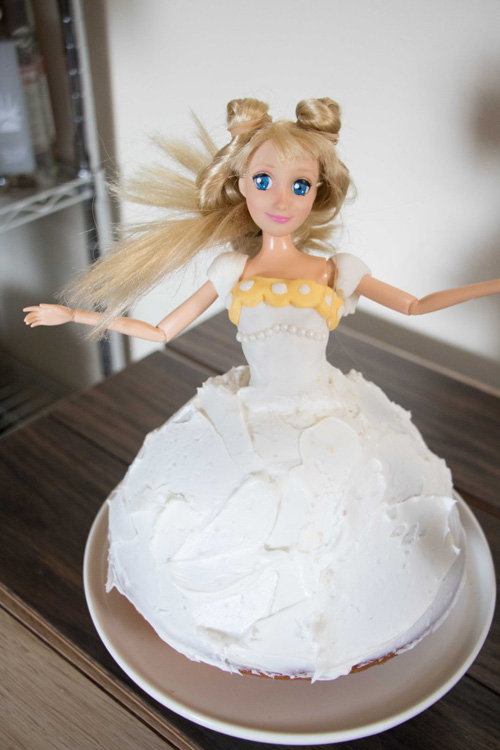
Once your doll is secured, spread some of the icing on the cake. Roll out some white fondant to wrap around the cake to cover it. Since her dress is simple, we didn't really need to do a lot of details. Add finishing touches like ribbons on her hair.
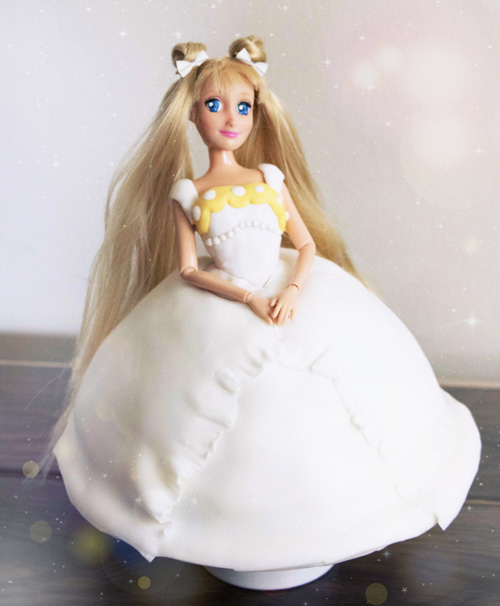
And voila! You've got an adorable Sailor Moon doll cake.
Source:
Geek Grubs
Follow us on:
July 15 2015